In today’s competitive streaming world, engagement is everything. That’s where tools like TwizChat come in. Designed for Twitch streamers, TwizChat com allows you to create interactive and visually customizable chat overlays that enhance audience interaction.
Whether you’re a beginner or a pro streamer, this guide will show you exactly how to use TwizChat with Twitch—from setup to pro tips—so you can maximize your viewer engagement and take your streams to the next level.
Step 1: Go to TwizChat com
Open your browser and head over to TwizChat com. This is the official site where you’ll set up your Twitch chat overlay.
Step 2: Log in with Your Twitch Account
Click on the “Login with Twitch” button. This will authorize TwizChat to access your Twitch account and pull chat data into your overlays.
Tip: Make sure you’re logged into the correct Twitch account in your browser.
Step 3: Create a New Chat Overlay
Once logged in:
-
Click on “Create New Overlay”
-
Choose a template or start from scratch
-
Name your overlay something descriptive (e.g., “Main Stream Chat”)
This is where you can customize font, background, animation effects, and more.
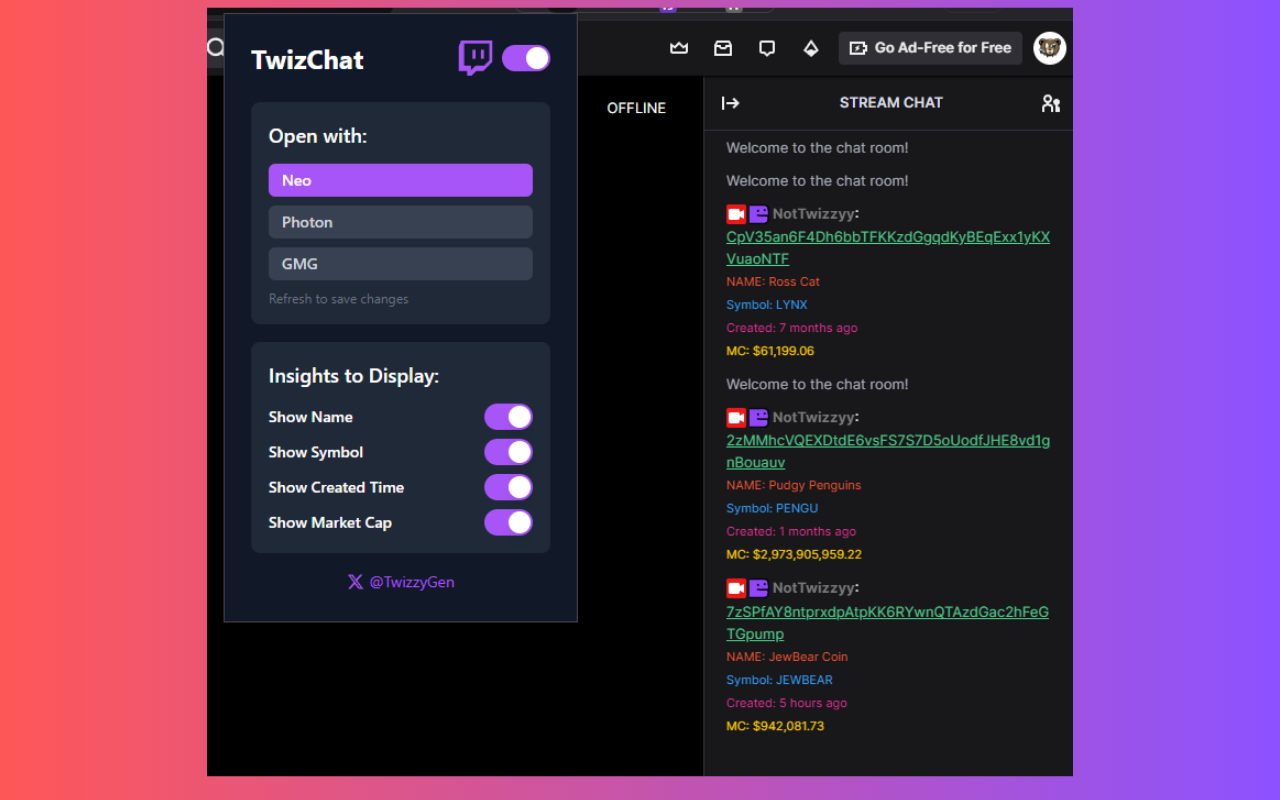
Step 4: Customize Your Chat Design
TwizChat offers full customization:
-
Font size & color
-
Chat bubble appearance
-
Fade in/out timing
-
Blocked words or emote filtering
You can preview changes in real-time.
Pro Tip: Keep colors contrasting with your background for visibility.
Step 5: Copy the Overlay URL
After customizing your overlay:
-
Click “Save”
-
Then click “Copy Overlay URL”
This link is used to embed the chat overlay in your broadcasting software like OBS or Streamlabs.
Step 6: Add the Overlay to OBS or Streamlabs
In OBS or Streamlabs:
-
Add a “Browser Source”
-
Paste the overlay URL from TwizChat
-
Adjust the width and height (recommended: 800×600 or similar)
-
Click “OK”
You’ll now see your TwizChat overlay live on your streaming canvas.
Step 7: Test and Go Live
Before going live:
-
Run a test stream or use Twitch’s “Start Replay Buffer”
-
Check the overlay visibility and responsiveness
-
Ask a friend to send a few messages to verify everything’s working
Once confirmed, go live and let TwizChat handle your chat visuals!
Tips, Warnings, and Best Practices
-
✅ Use moderation tools: TwizChat can filter certain words—set this up early.
-
✅ Test before each stream: Always preview your overlay, especially after Twitch updates.
-
✅ Mobile viewers: Ensure the chat overlay doesn’t block gameplay for mobile users.
-
❌ Don’t overload visuals: Keep the overlay clean to avoid viewer distraction.
FAQs: Using TwizChat with Twitch
What is TwizChat com used for?
TwizChat is a Twitch overlay tool that enhances your chat display on streams. It improves viewer interaction by showing chats in stylish, customizable formats.
Do I need to install anything to use TwizChat?
No. TwizChat com is a web-based tool. You only need a Twitch login and access to your broadcasting software (like OBS or Streamlabs).
Is TwizChat free?
Yes, TwizChat is free to use, though it may offer premium features in the future.
Where can I get support?
Visit the official TwizChat Help Center for troubleshooting guides and contact options.
Can I use TwizChat on YouTube or Facebook Gaming?
Currently, TwizChat is optimized for Twitch. Support for other platforms may be added later.
Final Thoughts
TwizChat com is one of the easiest and most effective tools to upgrade your Twitch stream. With a user-friendly interface and tons of design flexibility, it’s perfect for streamers who want to increase chat visibility and interaction.
Now that you know how to use TwizChat with Twitch, try it out and let your community shine on-screen in style!